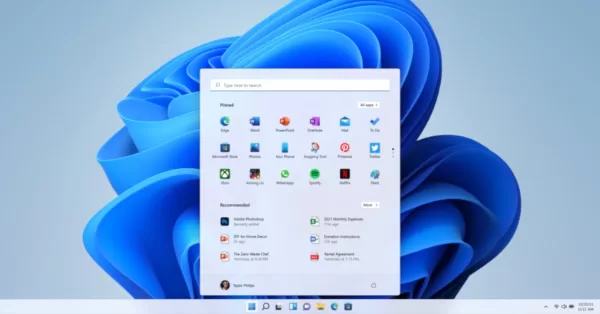
Here are the MSI motherboards that are ready for Windows 11 and equipped with TPM 2.0
MSI announces that selected motherboards are equipped with TPM 2.0 and are ready for the brand-new Windows 11 operating system.

MSI announces that selected motherboards are equipped with TPM 2.0 and are ready for the brand-new Windows 11 operating system. This is important news for PC users who are looking to upgrade to Windows 11 as it requires both firmware TPM 2.0 and UEFI BIOS.
Here are the motherboards from MSI that meet Windows 11’s two requirements:
| MSI TPM 2.0 ready motherboards | |
| Intel Platform | AMD Platform |
| 500 series (Z590 / B560 / H510) | 500 series (X570S / X570 / B550 / A520) |
| 400 series (Z490 / B460 / H410) | 400 series (X470 / B450) |
| 300 series (Z390 / Z370 / H370 / B360 / B365 / H310) | 300 series (X370 / B350 / A320) |
| 200 series1 (Z270 / H270 / B250) | TRX40 series |
| 100 series1 (Z170 / H170 / B150 / H110) | X399 series |
| X299 series | |
The detailed list of TPM 2.0 ready motherboards can be seen here.
If you have one of the motherboards listed above, here’s a quick guide on enabling TPM:
How to Enable TPM in BIOS
- Go to BIOS and find the item “Security Device Support” to enable TPM 2.0.
- Click BIOS 5 – If your BIOS features Click BIOS 5, you’ll find “Security Device Support” in “Settings\Security\Trusted Computing”. Enable “PTT” on an Intel motherboard, or “AMD CPU fTPM” on an AMD motherboard.
- Click BIOS (GSE Lite) – If your BIOS features Click BIOS (GSE Lite), “Security Device Support” can be found in “Security\Trusted Computing”. Enable “PTT” or “AMD CPU fTPM”.
How to Check the TPM Status
- You can check if the TPM is enabled and what the TPM version is in BIOS or Windows 10. A tutorial video is available here.
- In BIOS – After “Security Device Supported” is enabled, press the F10 key to save and exit BIOS. Go back to BIOS and you’ll find the TPM version on your PC.
- In Windows 10 – Press [Windows] + [R] key and run “tpm.msc”. The “TPM Management” will show the TPM version of your system.
For the full guide on enabling TPM 2.0 on MSI motherboards, click here.
And for more info on Windows 11 operation requirements, visit Microsoft’s official site.


